
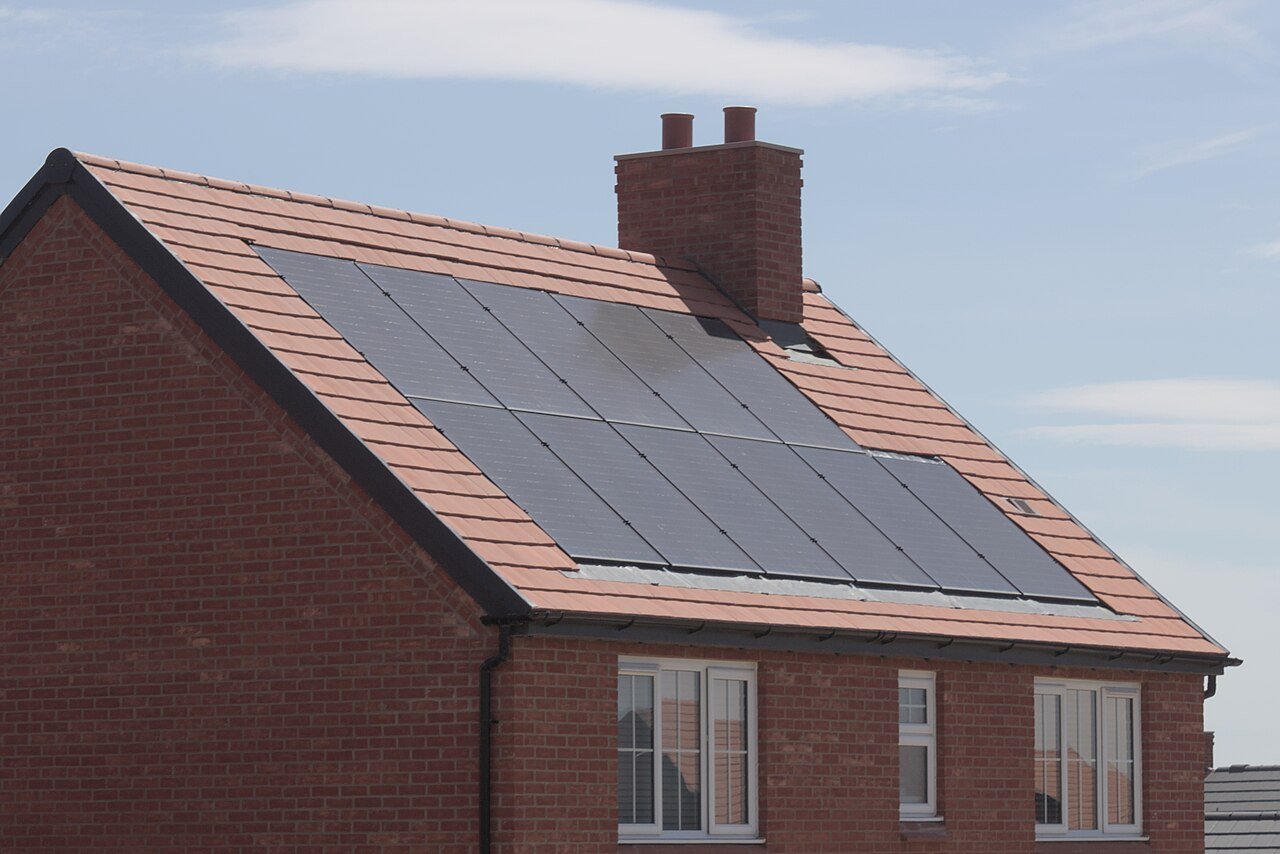
Start with the roof system, not a generic mounting diagram
Tile, metal, membrane, shingle and other roofs use different attachment and waterproofing methods. The solar racking manual covers the mounting hardware, but roof-manufacturer details and local construction practice may also matter. Before work, record the roof type, approximate age, existing defects and any roof warranty conditions. If the roof is near replacement, resolve that before installing equipment that would later need to be removed.
Photograph conditions before they are covered
Take wide and close photographs of the proposed array zones, gutters, ridges, valleys and any pre-existing stains or damaged roofing. During installation, the contractor should document representative attachments and flashing details before modules hide them. The goal is not for an owner to judge structural workmanship from photographs; it is to preserve evidence of what was installed and which approved method was followed.
Define responsibility for waterproofing and future roof work
The solar contract should make clear who is responsible for roof penetrations, workmanship warranty, leak investigation and removal/reinstallation if roofing work becomes necessary. Ask whether the installer coordinates with a roofer when the substrate is uncertain. Sealant alone should not be treated as a universal explanation of waterproofing; the correct assembly depends on the roof and approved mounting system.
Keep the roof record with the electrical handover
After commissioning, retain the mounting-system model, roof-area photos and any structural or roofing approvals alongside the electrical documents. If a leak appears later, document the location and weather conditions before anyone removes panels. Avoid disturbing roof attachments yourself. The commissioning handover checklist and solar quote comparison guide help make roof scope visible before and after installation.